How to create an FAQs section in Shopify with no apps
Mihai Ungureanu
June 23, 2025
Creating a comprehensive Frequently Asked Questions (FAQ) section is essential for any ecommerce website. It's particularly valuable on critical pages such as 'About' and 'Product,' where it can reassure potential customers and facilitate their decision to engage with your services. In this article, we'll guide you through the steps to build an effective FAQ section that doesn’t require a monthly subscription fee for an app.
Prerequisites
- You have a Shopify store.
- You have a theme installed.
1. Add an FAQs structure in metaobjects
Metaobjects allow you to store and manage extra structured information for your store. This data can be accessed and modified from the Shopify admin panel.
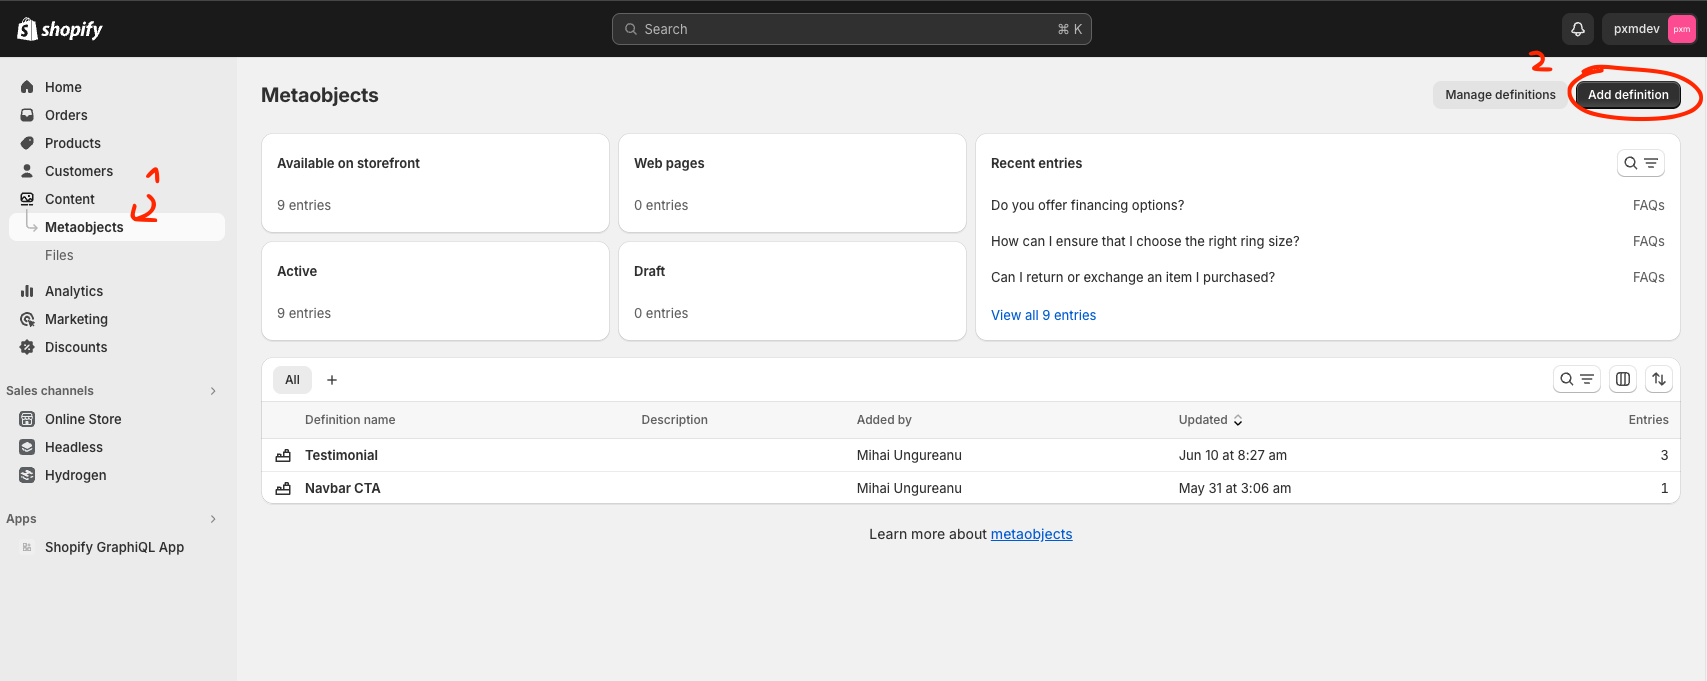
- Navigate to your Shopify Admin panel.
- Go to Content > Metafields.
- Click on the Add definition button.
Once inside, add a name for it; we will call it 'FAQs'. In our case, we've added 'title' as a single text field and 'description' as multi-line text. Don't forget to save it when you are done.
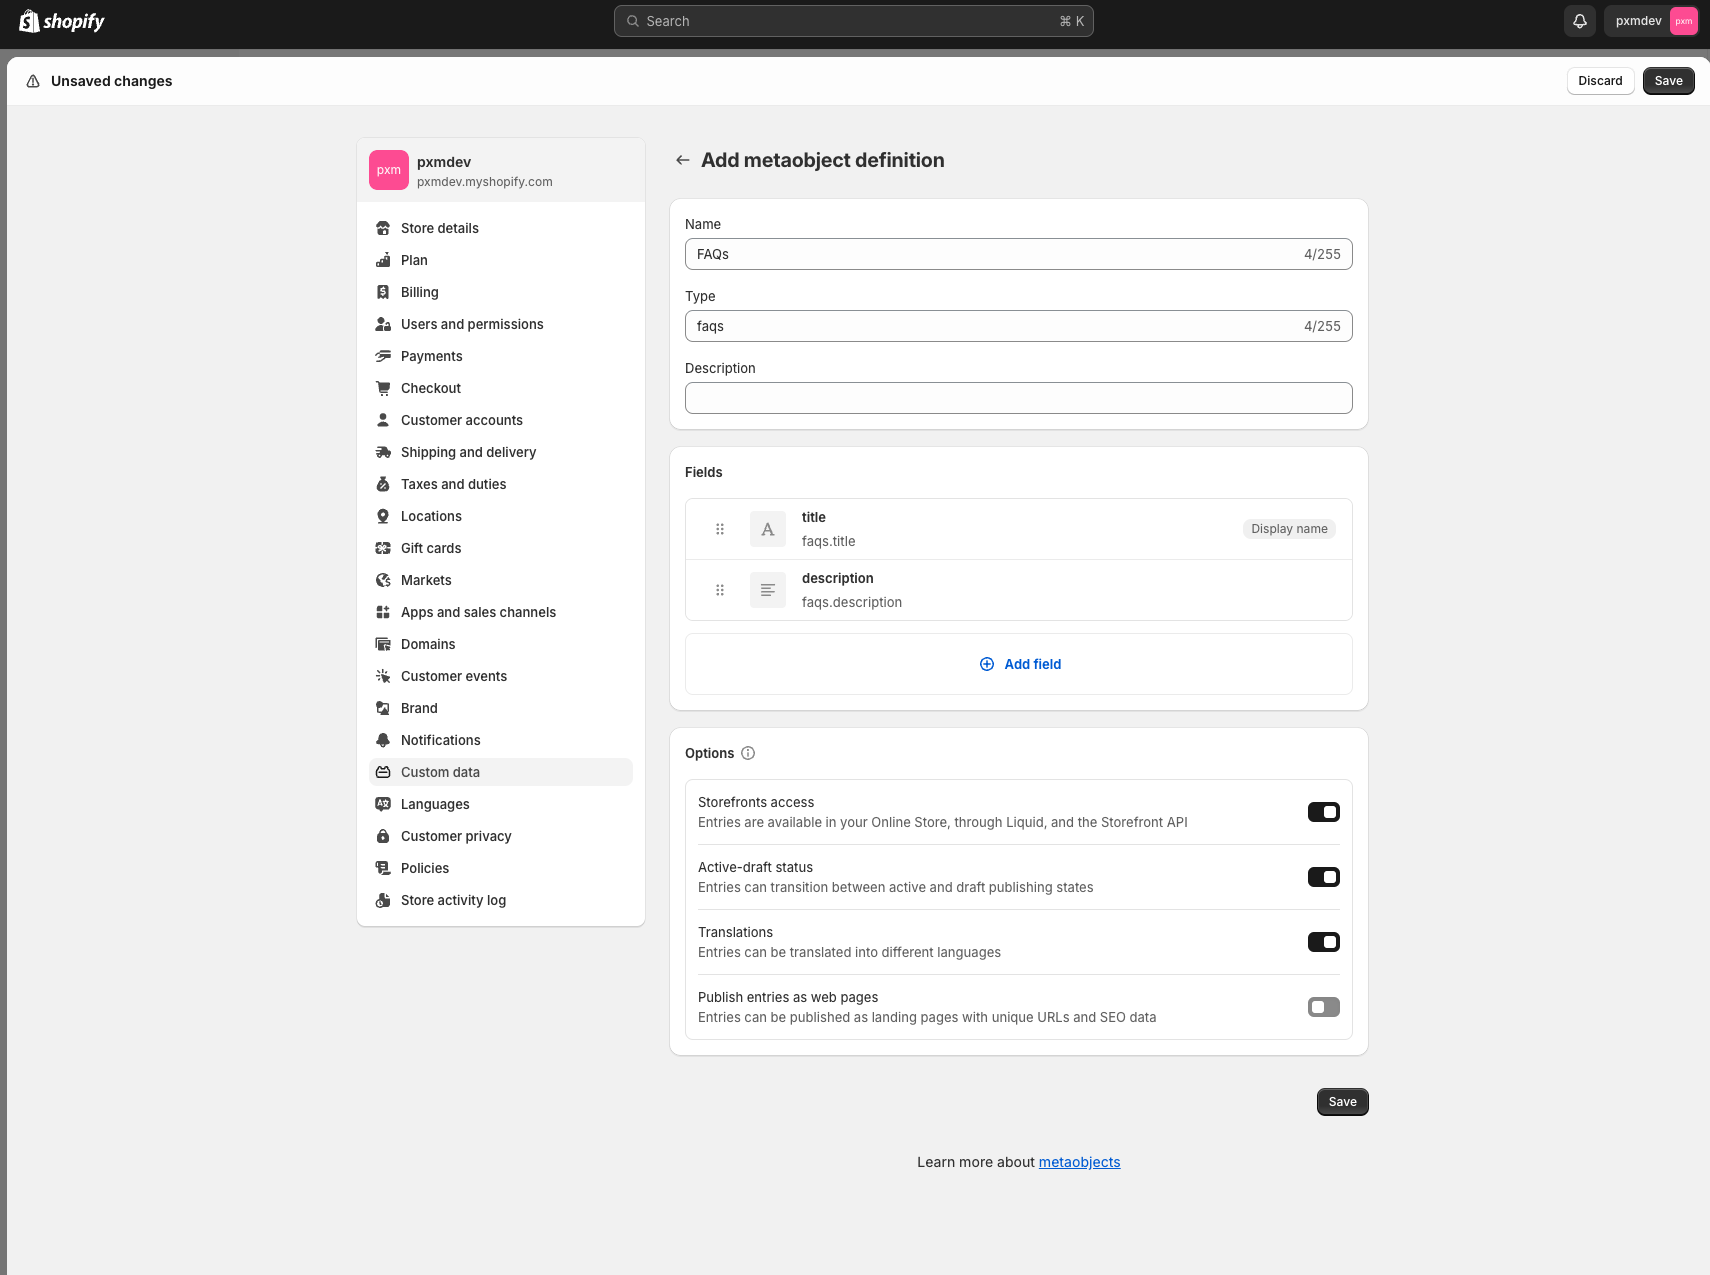
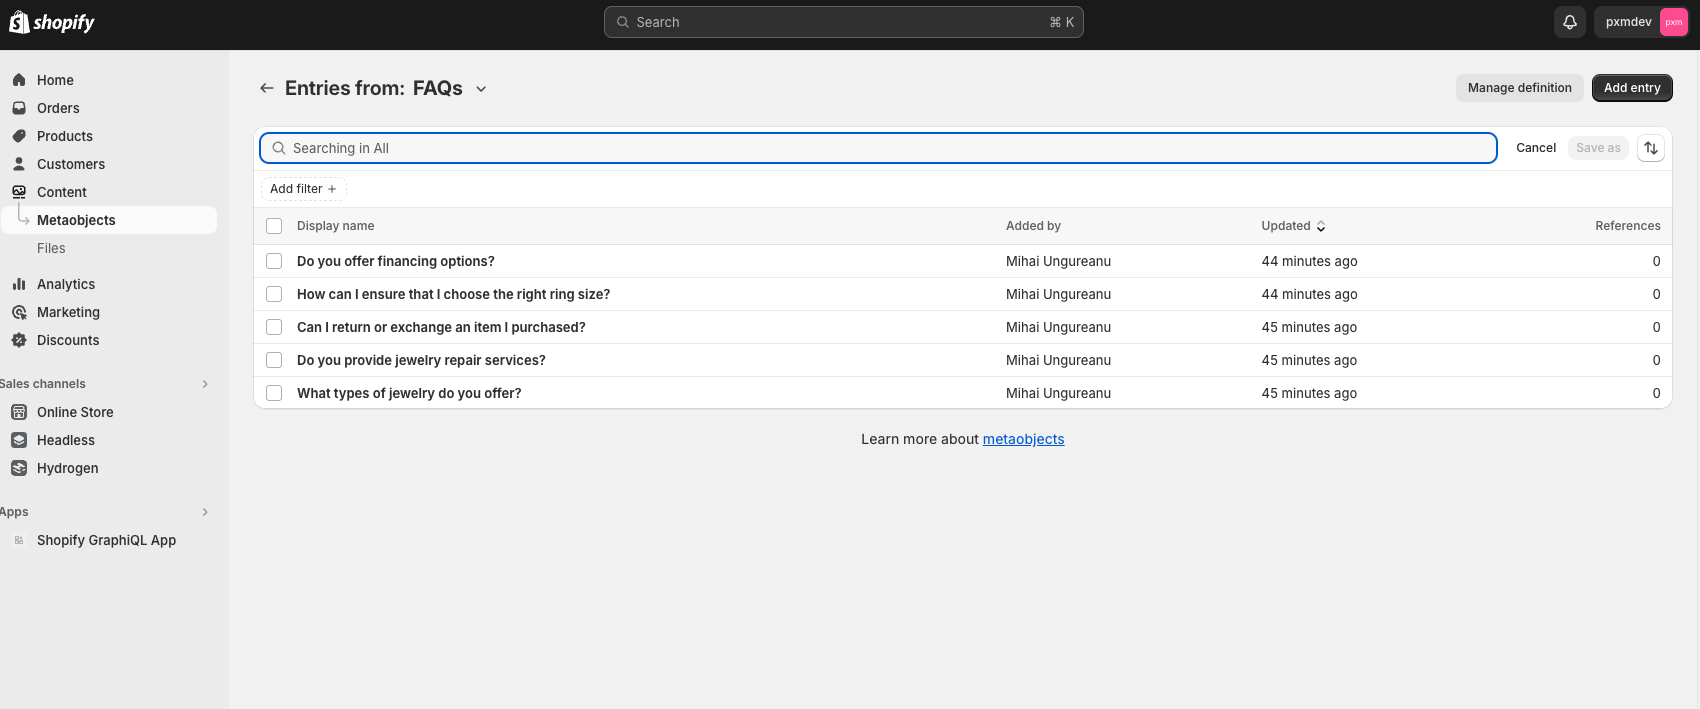
You can start populating it with content as well.
2. Add the code
Navigate to Online Store > Themes > Edit Code to access the theme’s code. We will need to add a section that contains the FAQs.

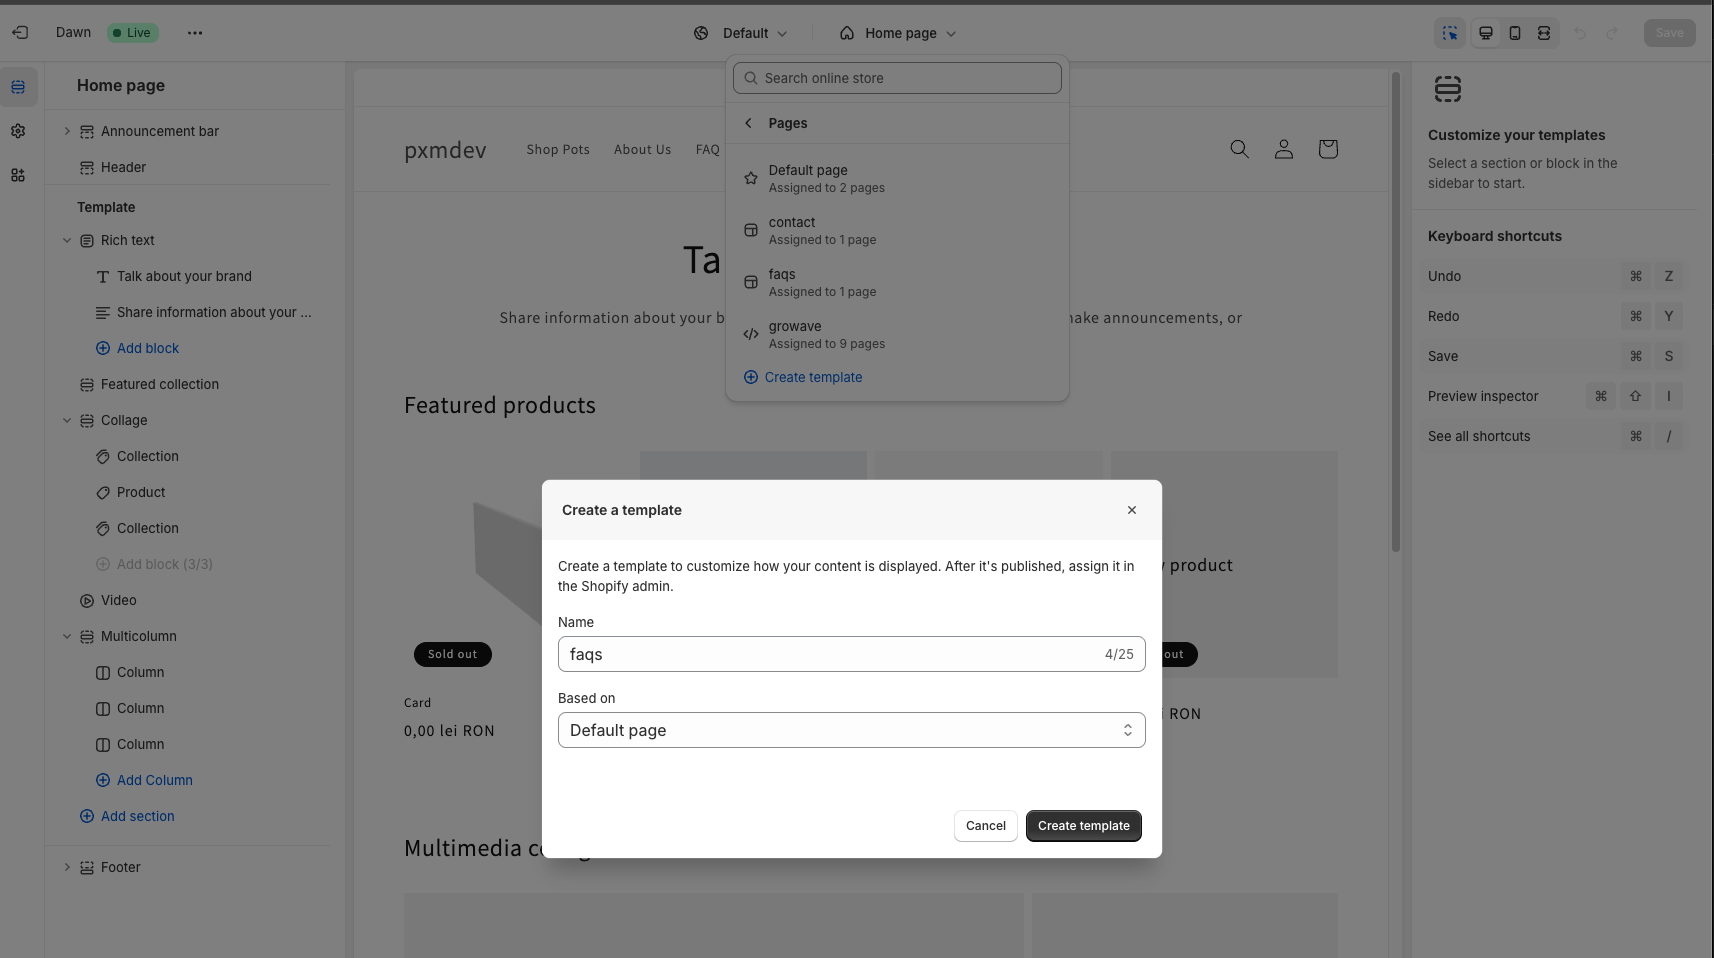
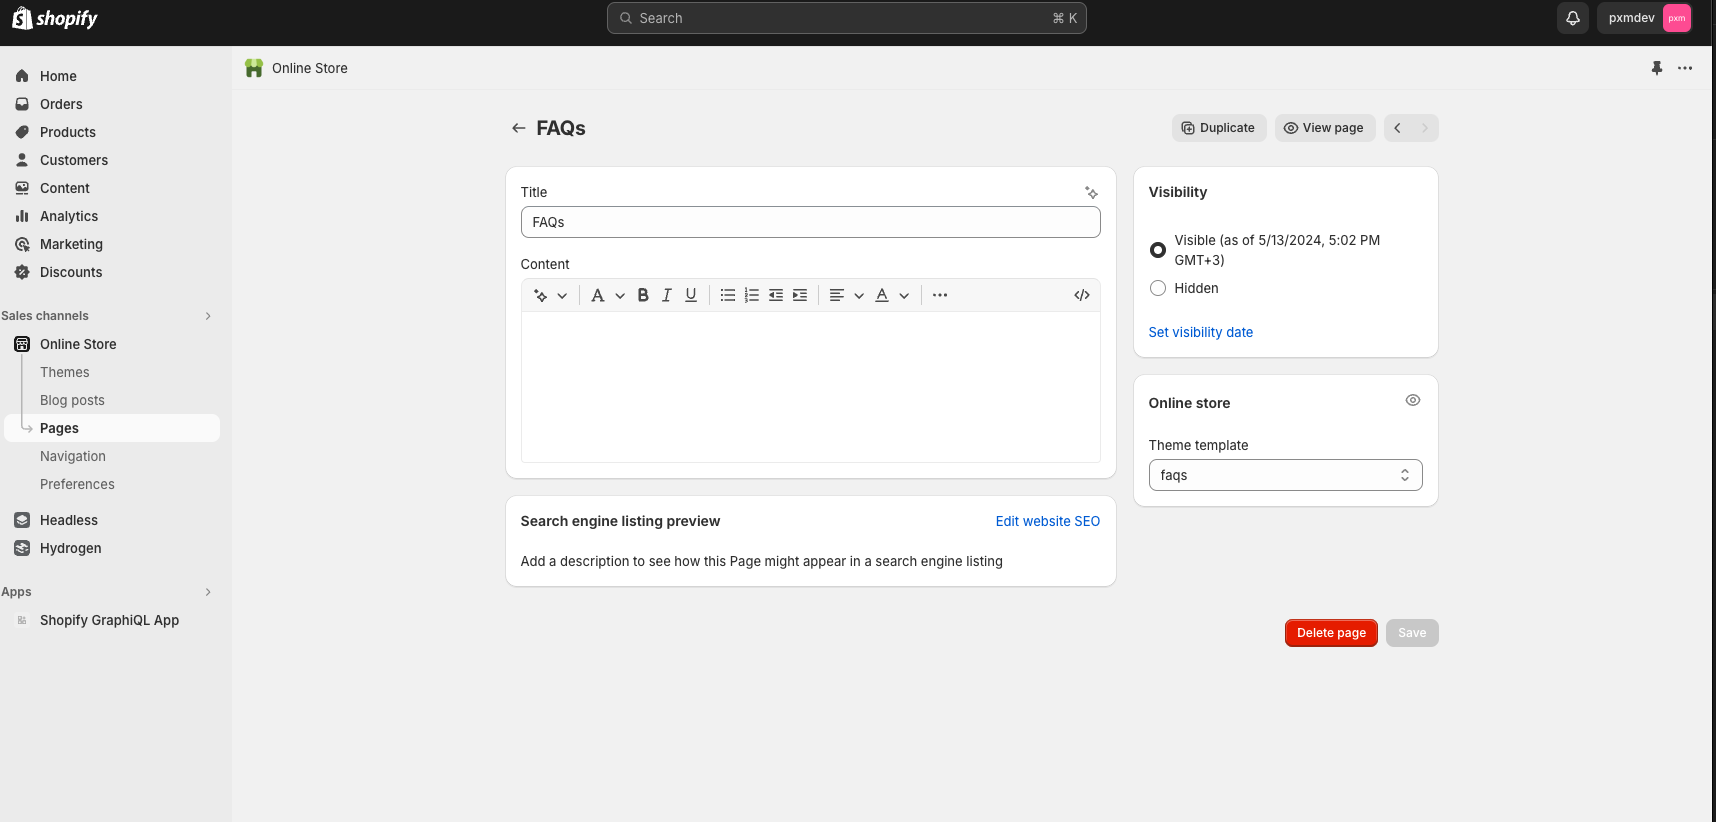
We have also created a separate FAQs page and its corresponding template.
Create a new file in the Sections folder, name it faqs.liquid, and paste the following code into it:
<section>
  <div class="page-width page-width--narrow">
    {% for faq in shop.metaobjects.faqs.values %}
      <div class="faq-block">
        <button class="faq-header">
          <p>{{ faq.title.value }}</p>
          <div class="faq-arrow">
            <svg xmlns="http://www.w3.org/2000/svg" height="24px" viewBox="0 -960 960 960" width="24px" fill="#000">
              <path d="M480-345 240-585l56-56 184 184 184-184 56 56-240 240Z"/>
            </svg>
          </div>
        </button>
        <div class="faq-description">
          <p>
            {{ faq.description.value }}
          </p>
        </div>
      </div>
    {% endfor %}
  </div>
</section>

<script type="module">
  const faqBlocks = document.querySelectorAll('.faq-block');

  faqBlocks.forEach(block => {
    const faqHeader = block.querySelector('.faq-header');
    const faqArrow = block.querySelector('.faq-arrow');
    const faqDescription = block.querySelector('.faq-description');

    faqHeader.addEventListener('click', () => {
      faqDescription.classList.toggle('active');
      faqArrow.classList.toggle('active');
    })
  })
</script>

{% schema %}
  {
    "name": "FAQs",
    "settings": []
  }
{% endschema %}
Find the template for the page where you want to add the section. We will add it into the previously created FAQs template. Paste the following code to ensure the section displays correctly:
{
  "sections": {
    "main": {
      "type": "main-page",
      "settings": {
        "padding_top": 28,
        "padding_bottom": 28
      }
    },
    "faqs": {
      "type": "faqs",
      "settings": {
      }
    }
  },
  "order": [
    "main",
    "faqs"
  ]
}
Go to base.css and add this at the end. It contains styling for the FAQs section.
.faq-header {
  display: flex;
  justify-content: space-between;
  align-items: center;
  padding: 1.5rem 0;
  border-bottom: 0.1rem solid rgba(var(--color-foreground), 0.08);
  background-color: #fff !important;

  /* reset button default classes */
  border-top: none;
  border-left: none;
  border-right: none;
  padding: 0;
  cursor: pointer;
  font-size: 1.6rem;
  color: rgba(var(--color-foreground), 0.75);
  line-height: 1;
  width: 100%;
  padding-top: 1rem;
  padding-bottom: 1rem;
}

.faq-header > p {
  font-family: var(--font-body-family);
}

.faq-arrow {
  display: flex;
  padding: 0;
  transition: transform 0.3s;
}

.faq-description {
  display: none;
}

.faq-description.active {
  display: block;
}

.faq-arrow.active {
  transform: rotate(180deg);
}
And voilà! We now have a fully functional FAQs section.
We hope this short guide has helped you to successfully set up an FAQs section on your Shopify store without the need for additional apps. By following these steps, you can provide your customers with immediate answers to their questions, enhancing their shopping experience and potentially increasing your sales.
Got stuck or need help with your Shopify website, feel free to reach out or contact us using our chatbot on the bottom right.